Having just moved into our first house in July, when September rolled around, I found myself SERIOUSLY lacking in Fall decor. I found a few decorations on the cheap at various stores, but we have a whole house now instead of a 1 bedroom apartment. I hit Pinterest in search of some inspiration and I found the cutest 2x4 pumpkins.
Also in need of a birthday gift for my mother in law, I knew these would be perfect, so I made two sets--one for me, and one for her!
Great news, 2x4's are less than $4 at Home Depot and they will even cut the wood for you on site. AND you'll have a bunch of wood left over to use for another project! (hint hint, future post hint)
I realize the end of Fall is fast approaching, but we still have a little bit of autumnal bliss to enjoy. I refuse to accept that Winter is coming - so pumpkins for everyone!
2x4 Pumpkins
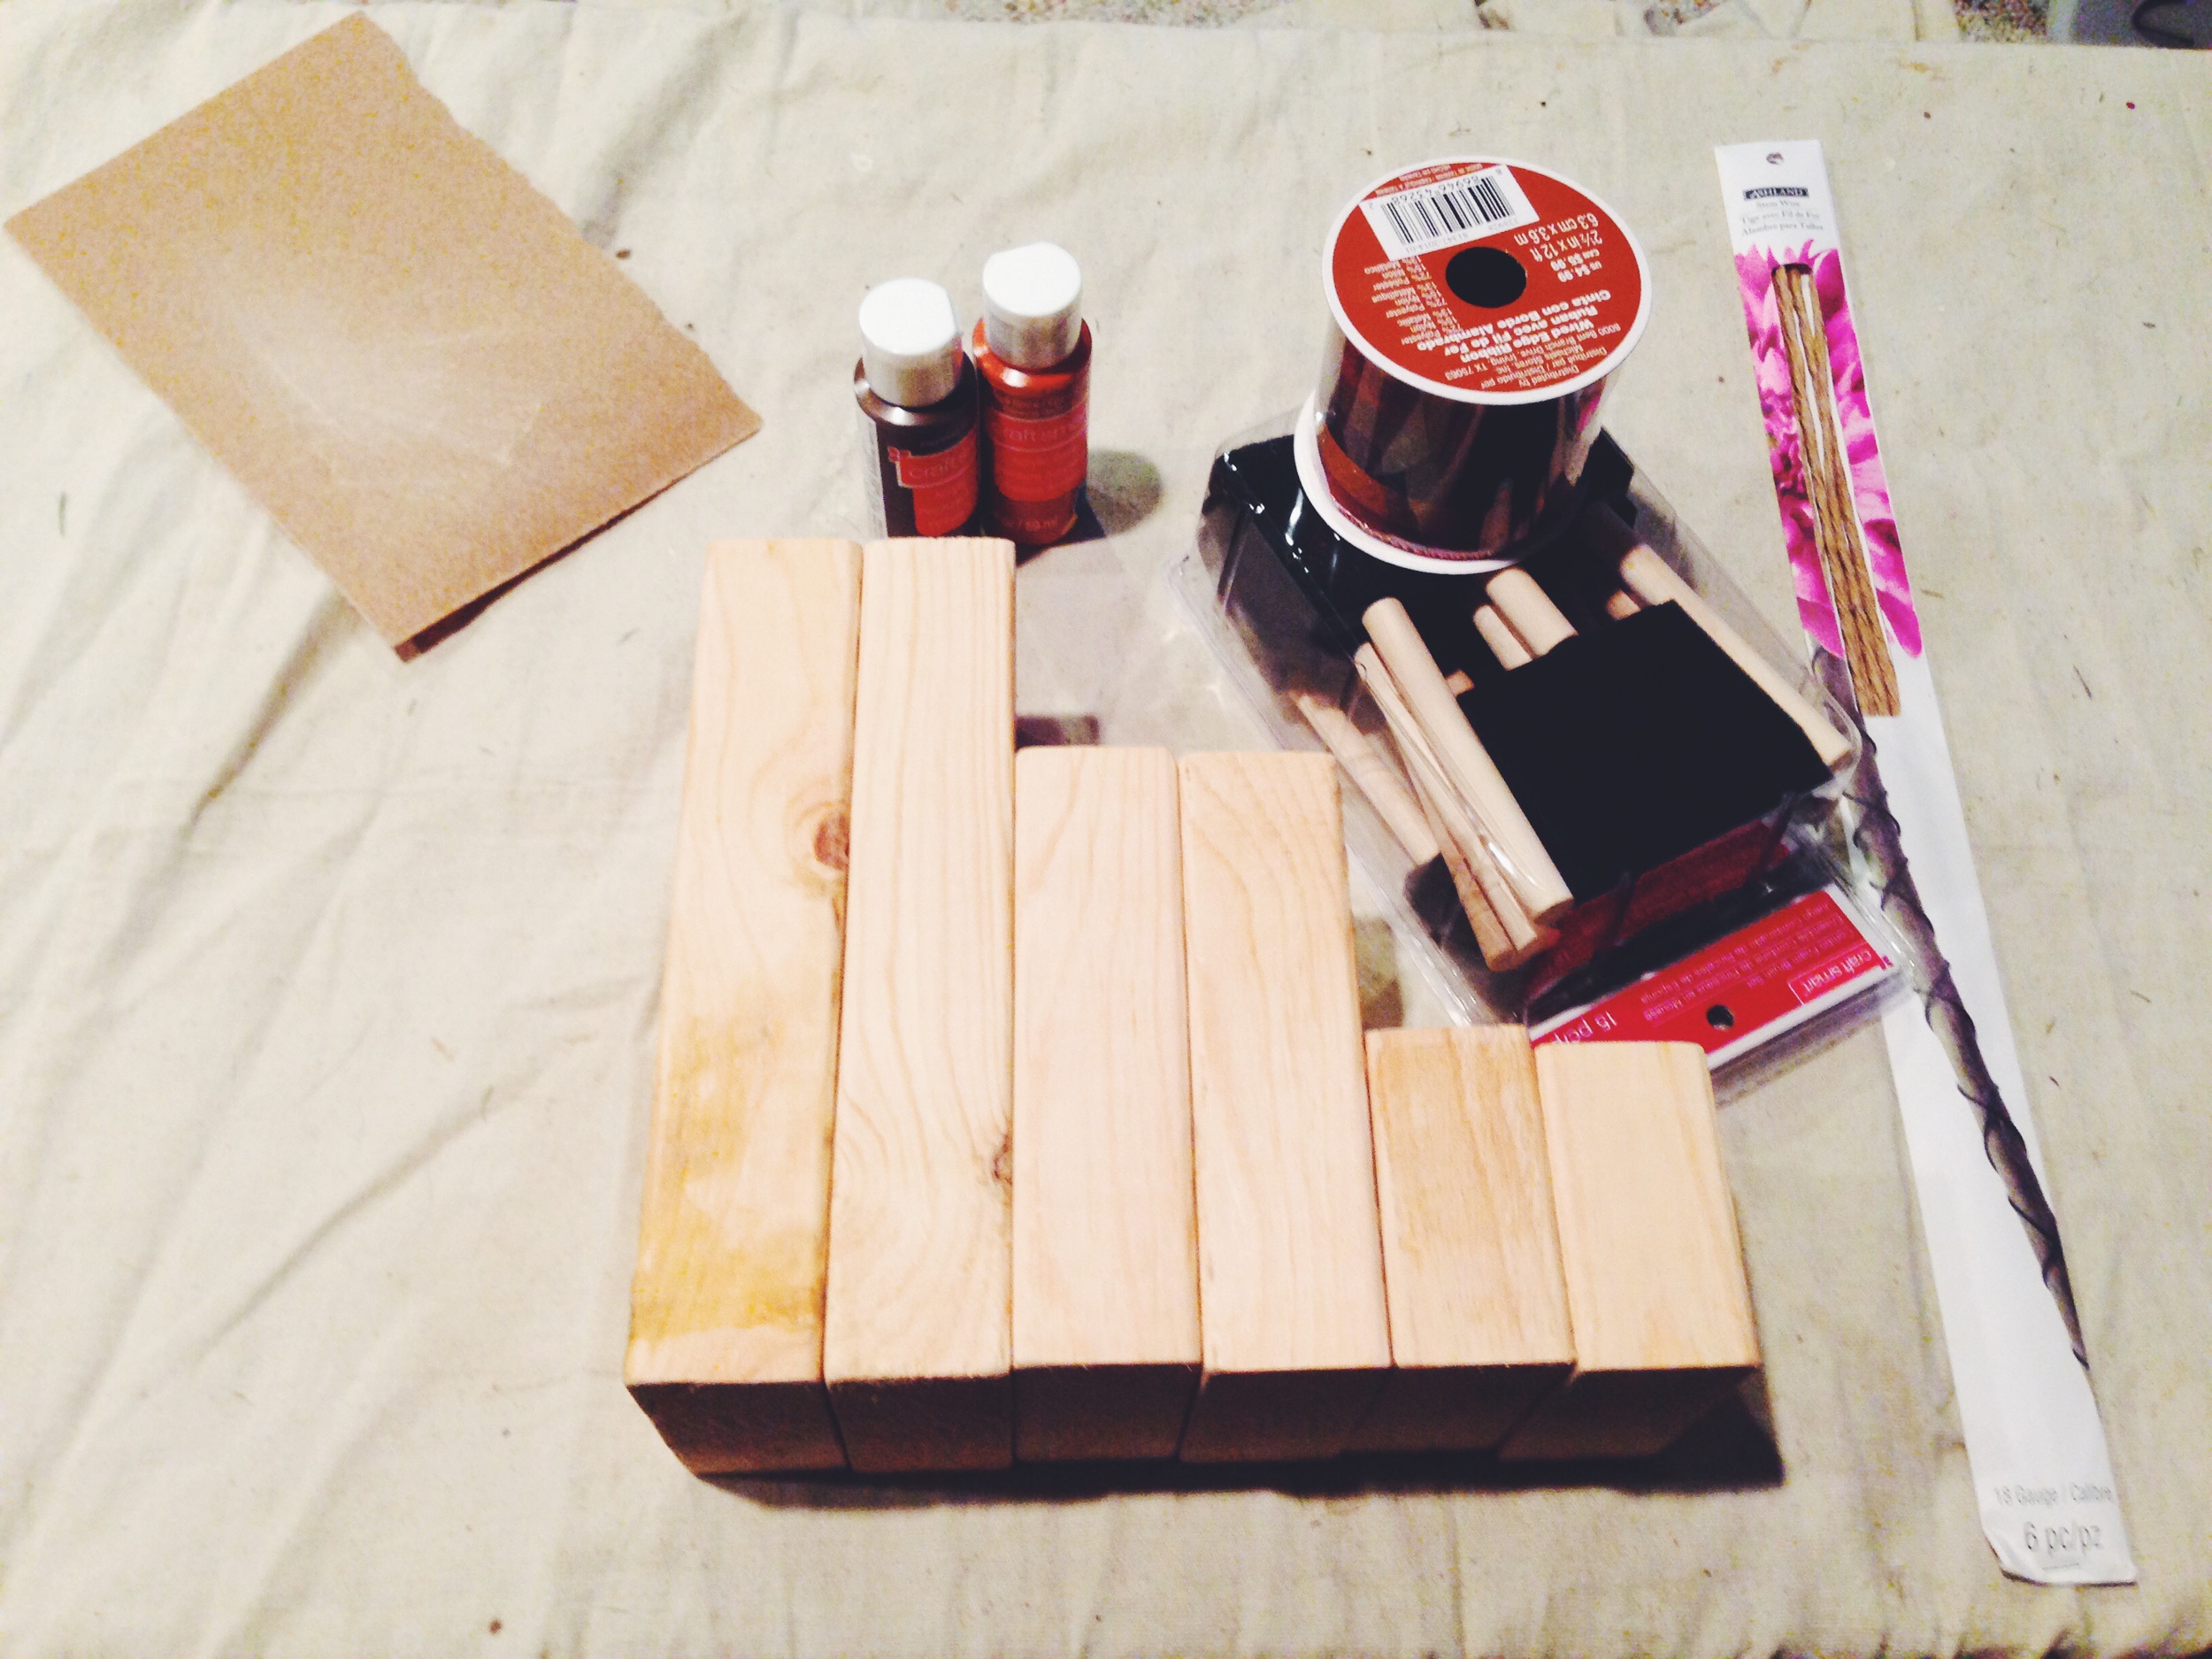
SUPPLIES
Drop cloth or newspaper
1 2x4 cut into 8", 6", and 3" lengths (or whatever lengths strike your fancy)
Sandpaper
Orange acrylic craft paint (costs about $.84 at craft stores)
Paper Plate (for paint)
Sponge paint brushes
Wired ribbon of your choice
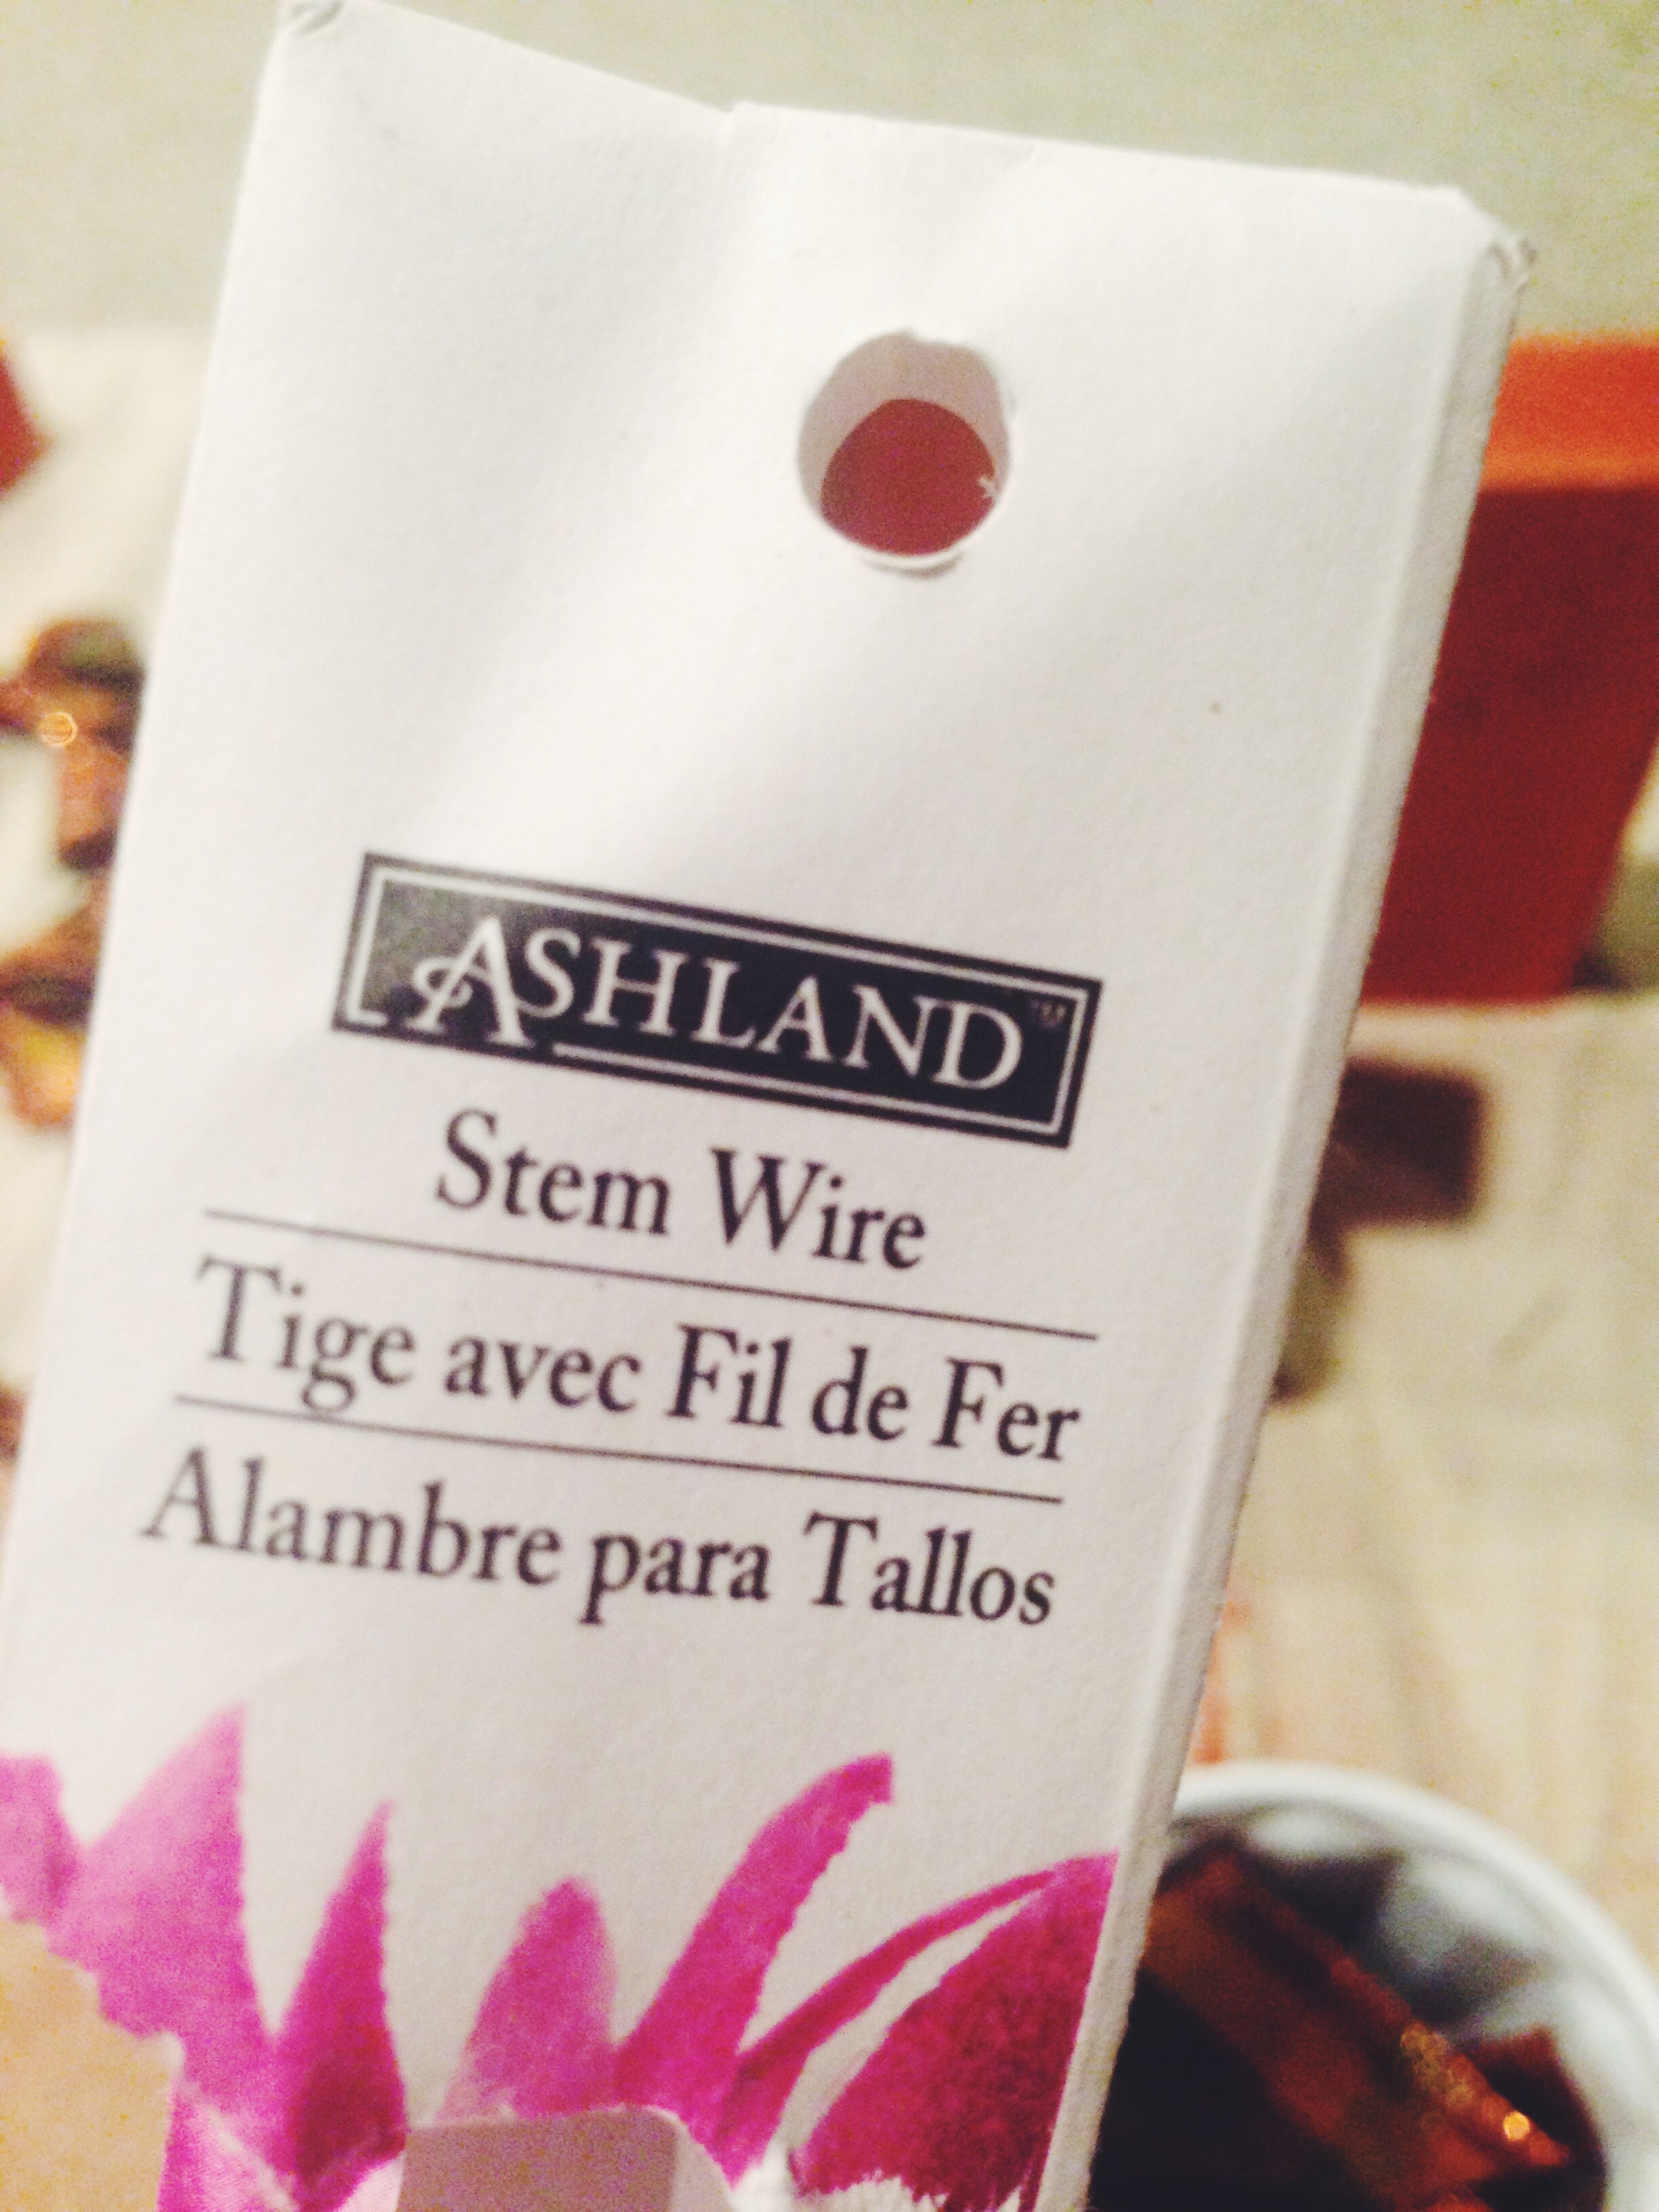
Brown paper stem wire or wire of your choice
1" diameter tree branch cut into three 1-2" lengths
Hot glue gun + glue sticks
INSTRUCTIONS
Sand the cut sides of all of your blocks until fairly smooth, removing any splinter-inducing edges.
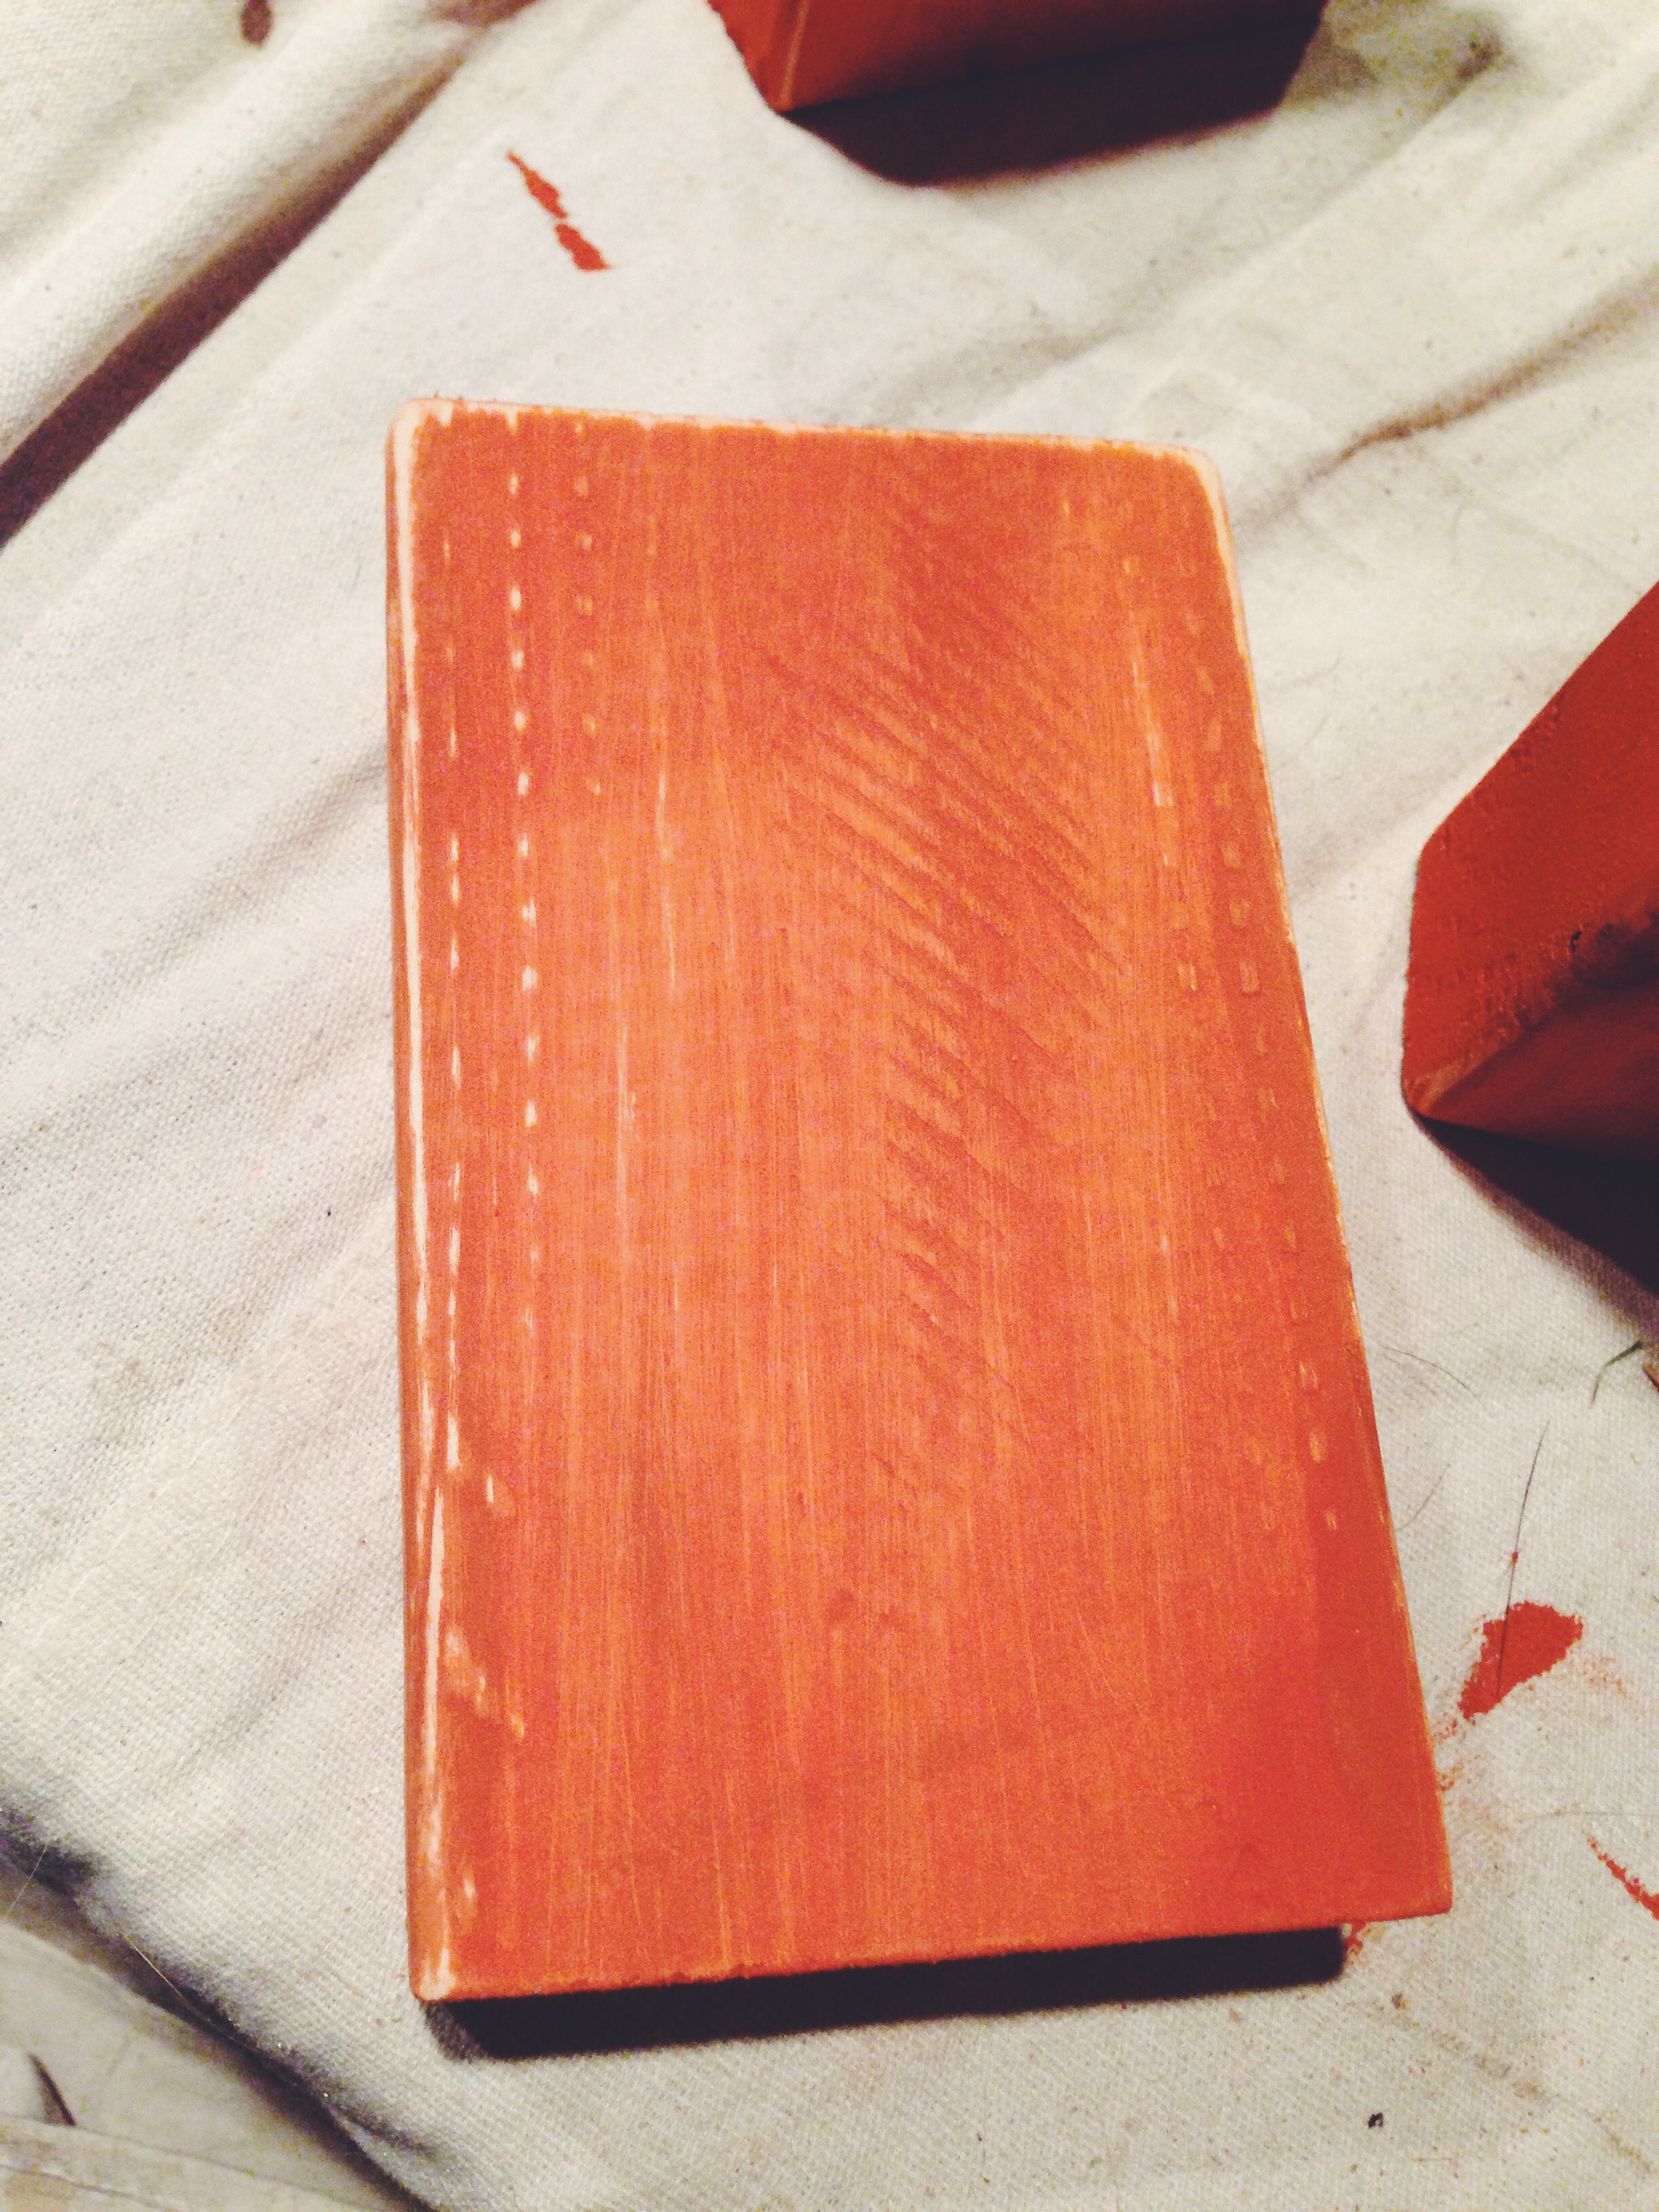
Brush each block with a coat of orange paint. I used only one coat as I wanted to be able to see the wood grain through the paint, but use two or more coats if you want full coverage.
Allow the blocks to dry while you prep the other materials.
For the bows:
Cut three 10" lengths of ribbon and tie them into little bows. My craft store only had thick ribbon in a Fall plaid print, so I folded the ribbon in half before tying the bows.
Trim the edges of the bows so that all are the same length.
For the vines:
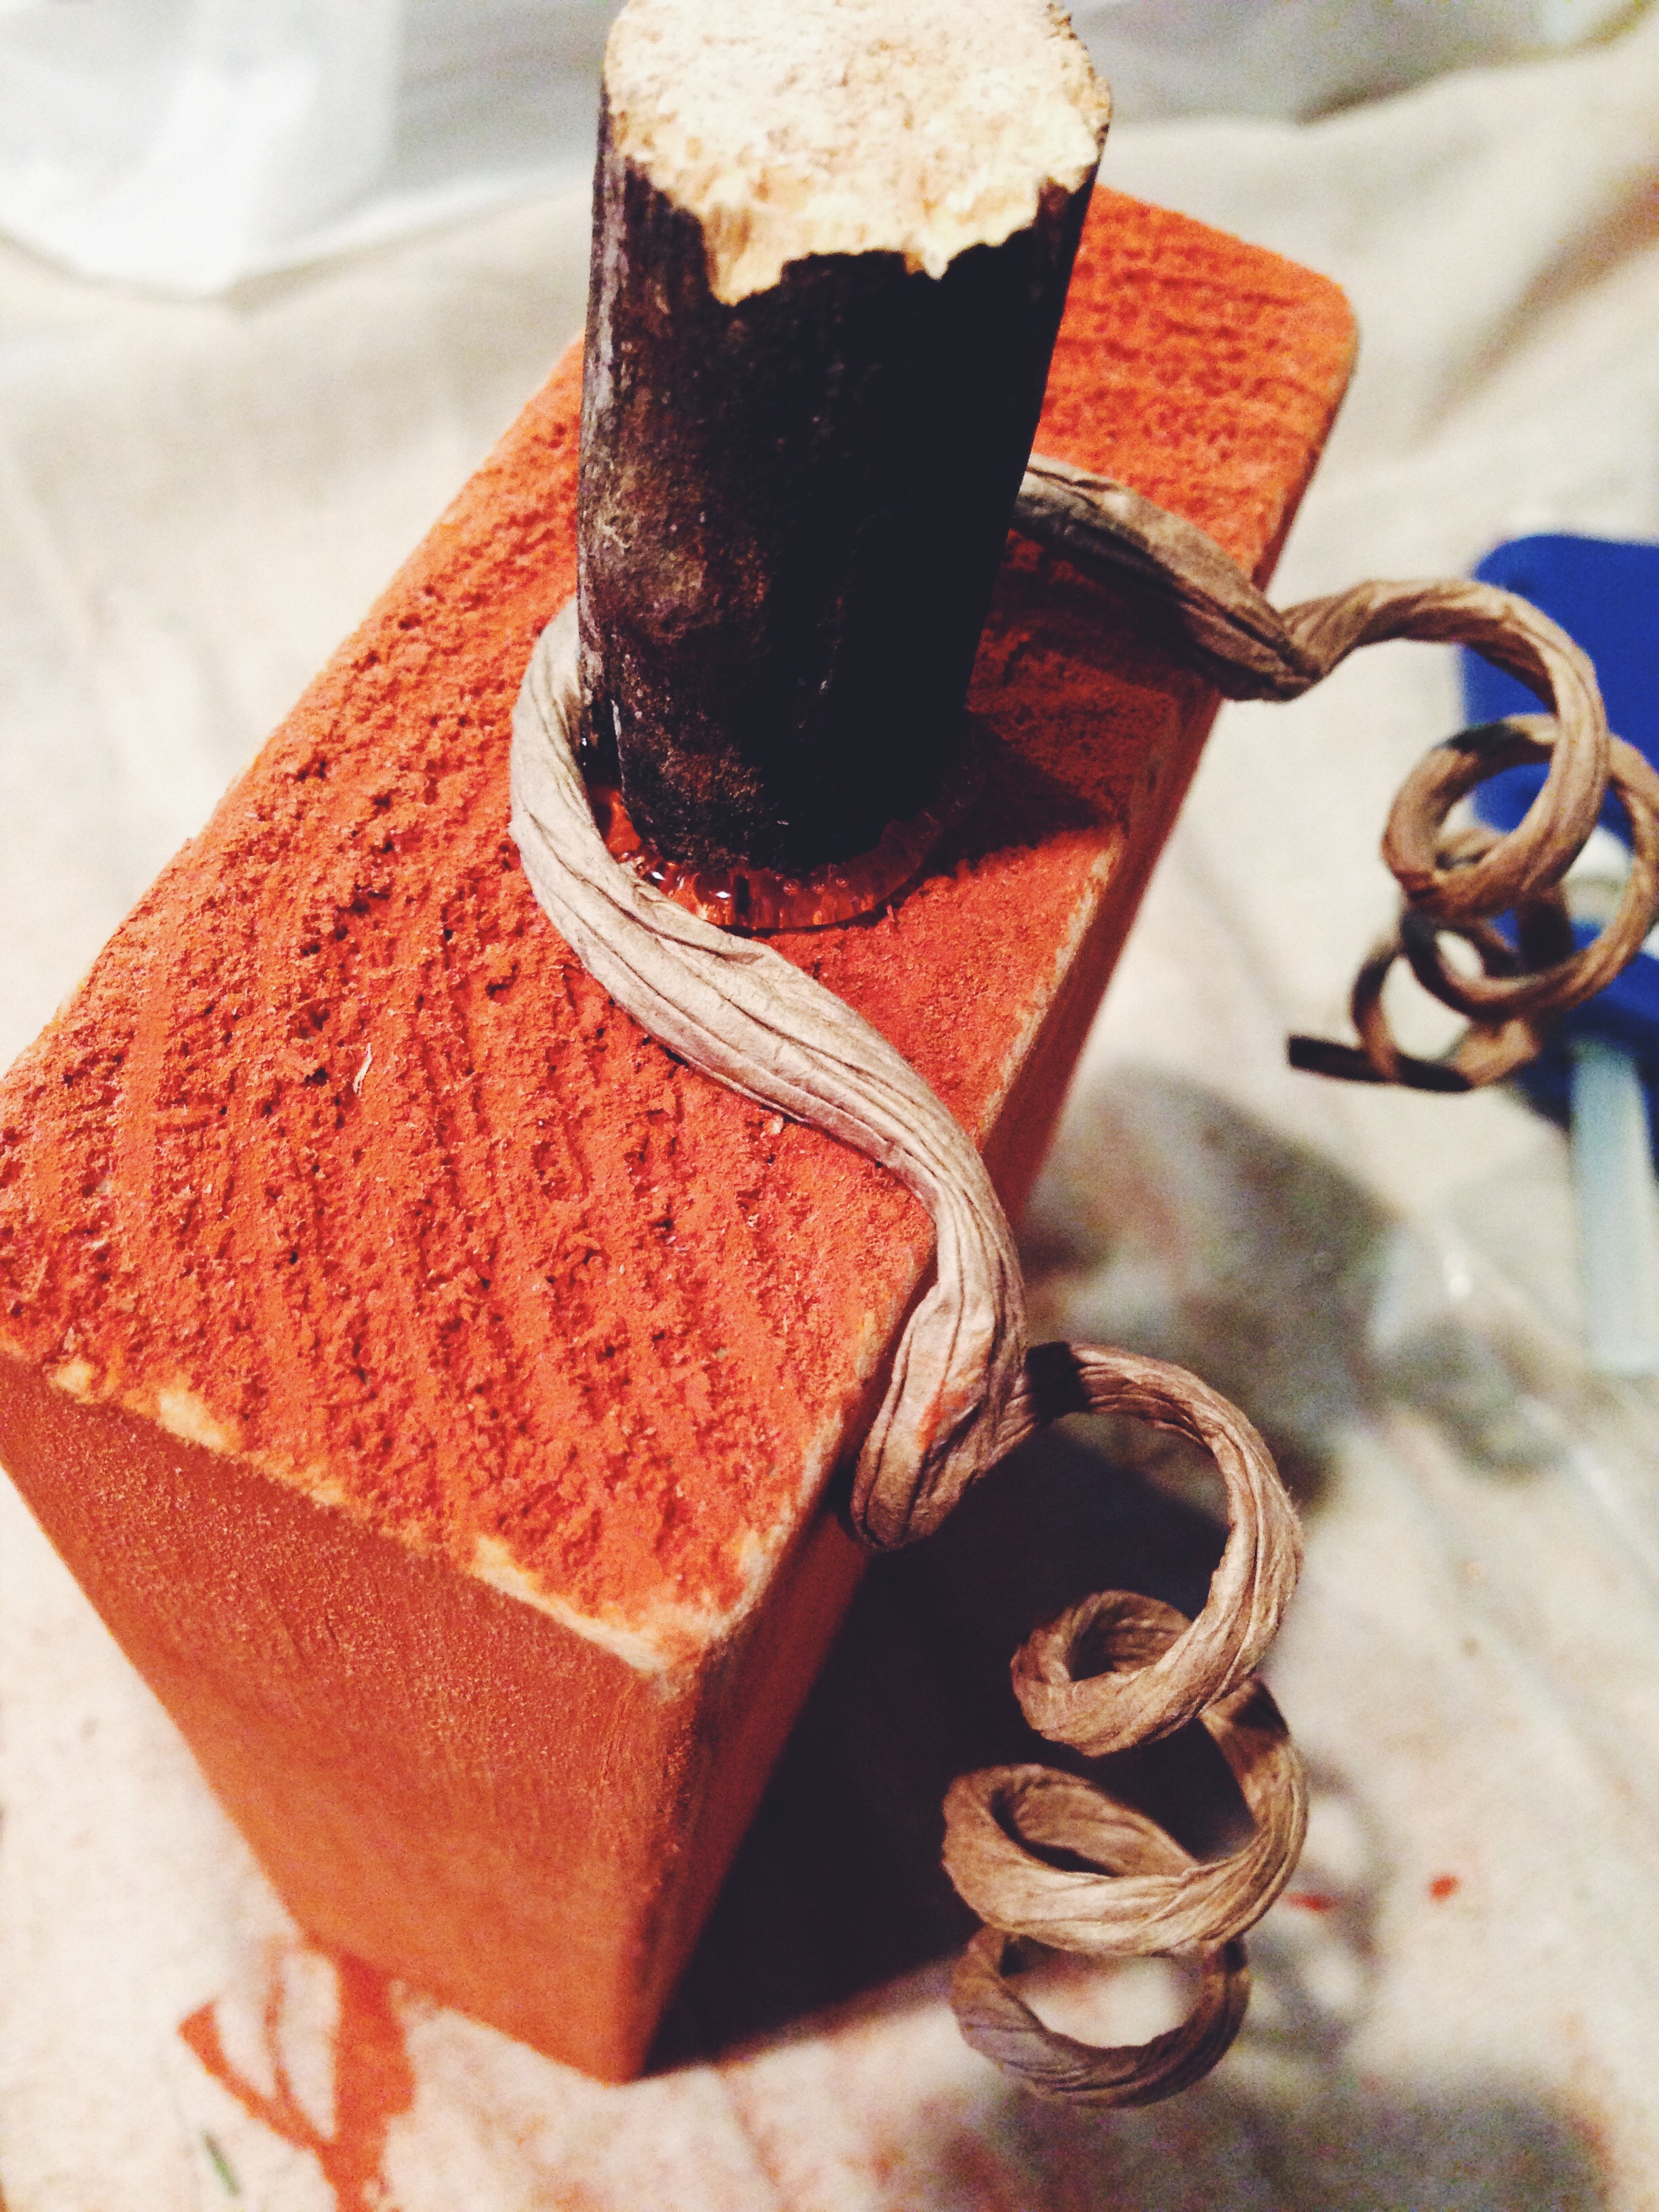
To curl the vines, wrap each stem wire around one of the foam brush handles or a marker so that you have a tight coil. Slide the coil off and stretch/loosen it a bit. Locate the middle of the coil and unwrap one section to make a half circle that fits around the stem. It is hard to explain this part but see the picture below and you'll understand what I mean. You'll need to bend the sides down so that they lay correctly on the pumpkin, and the loop should sit flat against the top of the pumpkin. It is best to do the bending before attaching with hot glue so they don't come loose.
For the stems:
I found a branch in our yard and my husband used our hacksaw to cut it into the lengths I needed. Sand the ends of the "stems" to smooth them out a bit.
Once you've done all of that, your blocks should be dry. Sand the edges and sides to achieve a worn/rustic look.
To assemble:
Attach your "stems" by squeezing a dot of hot glue to the middle of the top of each pumpkin and holding the stem in place for a few seconds. Place a dot of hot glue at the base of each stem's back side and affix the "vines," holding each in place for a few seconds so the glue sets.
Last but not least, place a dot of glue in between the two sides of each vine, in front of the stem, and hold your bows in place until the glue hardens.
Stand back and admire your masterpieces.


